How To Clean Skateboard Bearings
Whenever I take my skateboard out to the skatepark, I always get excited. But after riding a couple of weeks, the speed slows down. Have you noticed this? The speed continuously reaches a new low as each day passes. It’s mainly because the bearings inside the wheels got dirty and need to be cleaned. In this guide, I’ll teach you how to clean skateboard bearings.

When should you clean your bearings?
It would be best if you cleaned your bearings once every month. If you ride your skateboard daily, you will notice that the speed is reducing, and you have to push the skateboard more to cover the same distance you covered a couple of weeks ago.
Secure your workspace
First, choose an ideal spot where you can work. It can be your home garage or the skatepark. Any place that you’re comfortable with is fine. If you’re planning to clean inside your house, place some paper and work on top so that the floor doesn’t get dirty. Keep a towel with you, so you can clean any mess you make during the process. A towel can prevent your hands from getting dirty.
Get all materials
Before jumping on to cleaning with excitement, you need to have a couple of things to do the task. First, gather all the materials and start cleaning your skateboard bearings.
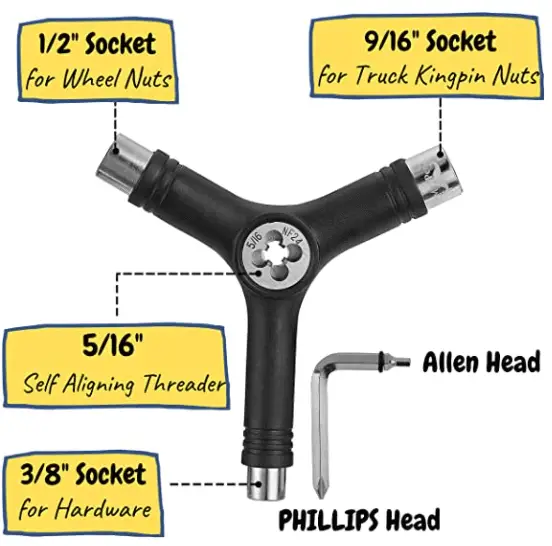
- Skate tool or wrench
- Towel
- Brush
- Lubricant
- Solvent
- Bowl
- Tray to keep the bolts
- Razorblade
- Paper towel
- Speed cream
Remove wheels from skateboard
First, remove the wheels from the skateboard. Wheels are strongly connected to the truck. You can use a skate tool, wrench, or t-Tool to remove the wheels. Removing each wheel you will get one axle nut. Make sure you don’t lose that axle nut. You can keep all the nuts in a tray so that you can reattach them once your work is complete.

Remove bearings
Each of the wheels has two bearings inside. You need to bring those bearings out. You can use the truck axle to do this job. Just place the truck axle inside one bearing and twist the wheel. You’ll see the bearing pop out from the wheel easily. Then you can repeat the same process to the second bearing. Like this, you can pull out all eight bearings from the wheels.
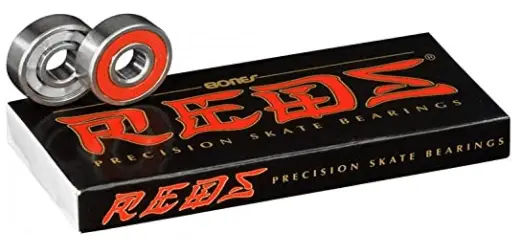
Replace bearings if needed
After removing all eight bearings, you may see that some of them are so bad that they can’t be used anymore. What do you do in a situation like that? In the worst-case scenario, you have to buy an entirely new set of bearings. If you don’t want to replace all eight of them, you can replace 2 or 4 bearings, as many skate shops sell by pairs as well.

Bearing shields removal
Each bearing has two bearing shields. You can easily open them with something sharp. You can use a razor blade to separate them. Do this task carefully so that the shield doesn’t get damaged. Please keep all the shields safe because they are really thin and easily get lost.
Soak bearings in cleaners

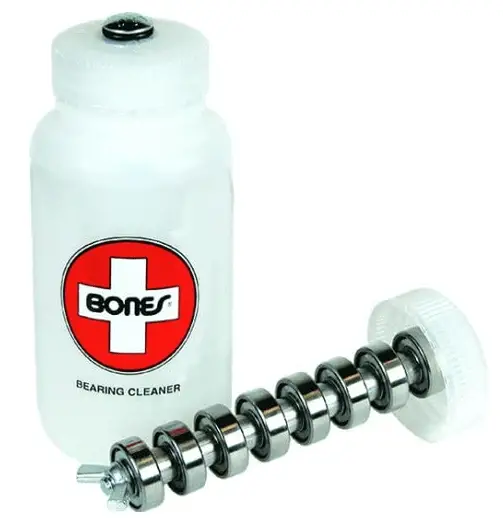
Now that you have all the bearings out, clean them with a dry towel to clean the dirt. Then it would help if you soaked the bearings in cleaners. You can use a small bottle and keep the bearings inside. Then slightly shake the bottle so that cleaners get inside the bearing. If you don’t have any bottles and don’t want to make a mess, you can use bones cleaning kit, which is designed to clean bearings in an easy way. Almost everyone in the skating community uses this tool.
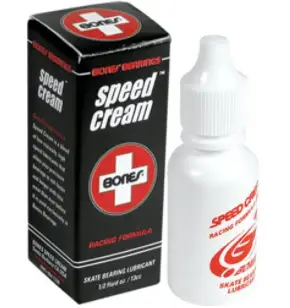
Lubricate bearings
There are many skateboard lubricants on the market right now that you can use. Just drop 2/3 drops of lubricant per bearing. Don’t use too much lubricant. After lubricating, rotate the bearing a couple of times to spread throughout the bearing. Don’t use any hard oil that people use on a mountain bike. Those oils will get clogged in the bearing, and they won’t rotate smoothly.

Dry bearing
After cleaning and lubricating the bearings:
- Let them sit for a while.
- Let it dry a bit and rotate the bearings a couple of times.
- Make sure they are good and running.
Final touches
After cleaning and lubricating all the bearings, place them back to where it was. Now you know how to clean skateboard bearings.
Quick & easy way
You can buy a spray bottle from the skate shop that has lubricant inside them. Each bottle comes with a pipe attached. You can remove the bearings and press the bottle keeping the tube targeted towards bearings.
Keep them clean in the first place
Try to keep all the bearings clean. Try to avoid places that have lots of dust or sand. The bearings that come with your skateboard are often not up to the standard, and they may lose speed pretty quickly. So you may want to invest in a good set of bearings. It will serve you a long time. While cleaning your bearings, don’t use water or DW40 as they will do more harm to your bearings than good.
Cleaning and lubing vs. buying new
The entire cleaning bearing process may seem difficult to pull off, but you will see how easy this is once you do this. Buying a new set of bearings can seem tempting, but even those bearings will slow down in time. You cant purchase new bearings every single month as that won’t be cost-efficient, instead learn to clean and lubricant bearings, and you will see how rewarding the feeling is.
Schedule a free day per month to clean bearings. Depending on where you skate, this can vary. If you’re skating inside, your skateboard bearings will have less dirt in the ramp. If you ride outside in the street, then your skateboard will have more dirt.
Conclusion
Now that you have a skateboard with clean bearings go to the nearest skatepark and enjoy. If any kid comes to you asking how to clean skateboard bearings in the skate park, pass him the knowledge.
But don’t forget, cleaning bearings is not a one-time job. This is routine maintenance. Schedule a cleaning plan every month. That way, you can ride your skateboard with more speed, and it will last more.
If you’re having trouble cleaning your skateboard grip tape, then you can check this article.
Also, Check how to clean skateboard wheels.


![What is Pushing Mongo on a Skateboard? [Briefly Explained]](https://tianslab.com/wp-content/uploads/2022/02/What-is-Pushing-Mongo-on-a-Skateboard-Briefly-Explained-768x512.jpg)