How to Earn Money with Amazon KDP Low Content Books
Today I’m going to share with you how I published 560 low content books on Amazon KDP. If you haven’t heard of Amazon KDP yet, don’t worry. I’m going to share everything you need to know to publish your very first book on Amazon KDP. Let’s dive into Amazon KDP low content books.
First, you need to understand what Amazon KDP is. It’s basically a platform by Amazon where you can publish your book without any hassle of printing, delivering, etc. In this article, I will share how you can publish a no content low content book on Amazon.
But if you want, you can upload an ebook as well.
So before diving in, you need to understand what no & low content book means. These are books that can be filled by the user, like a notebook, journal, diary, planner, etc. You can publish your notebook and earn money every time someone buys it. You will get a fixed royalty for each unit sold.
First, you have to create an account in Amazon KDP. It’s very easy, like opening a Facebook account that easy.

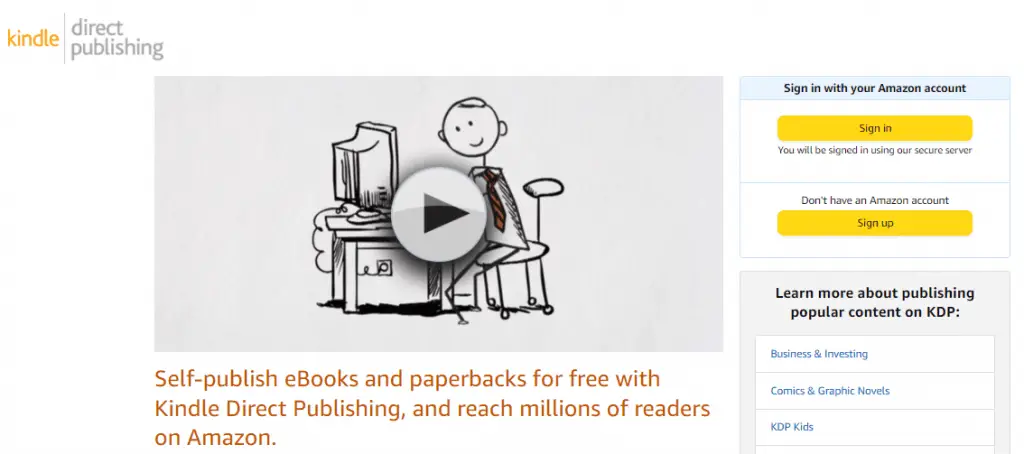
After opening the account, you need to set up your payment information. You have to provide your tax information as well.
That’s done. After that, you are ready to publish your no & low content book there.
On the homepage, you can see an option called paperback. You will be redirected to the 1st page of book creation by selecting paperback.
You need to provide the title of your book. Next, you need to make sure that whatever you write in the book title is the exact same thing written as the book cover.

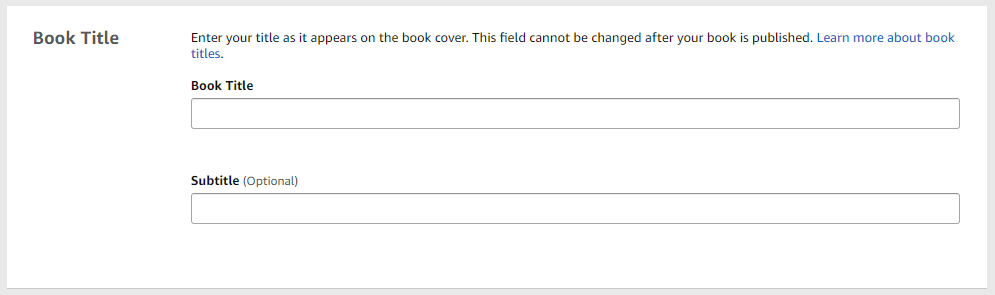
You need to check whether the title that you’re using is trademarked or not. Checking the trademark is very easy. You need to visit USPTO and check for trademark issues.
Then you can provide a subtitle for your book. You can do some market research and check what other people are using as subtitles within your niche. By researching, you can come up with your subtitle.
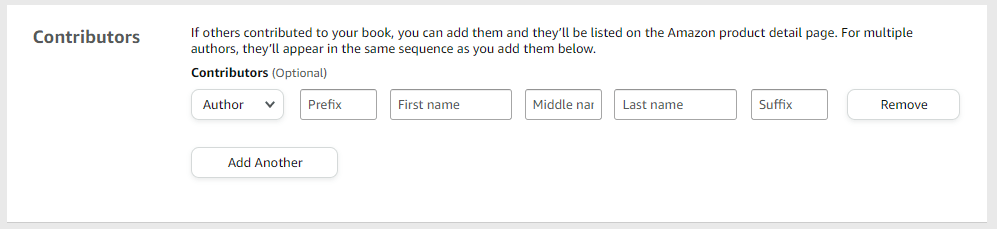
After you’re done with the title and subtitle, you must provide an author name. You can use a pen name. Just make sure that the pen name doesn’t violate any guideline rule provided by amazon.


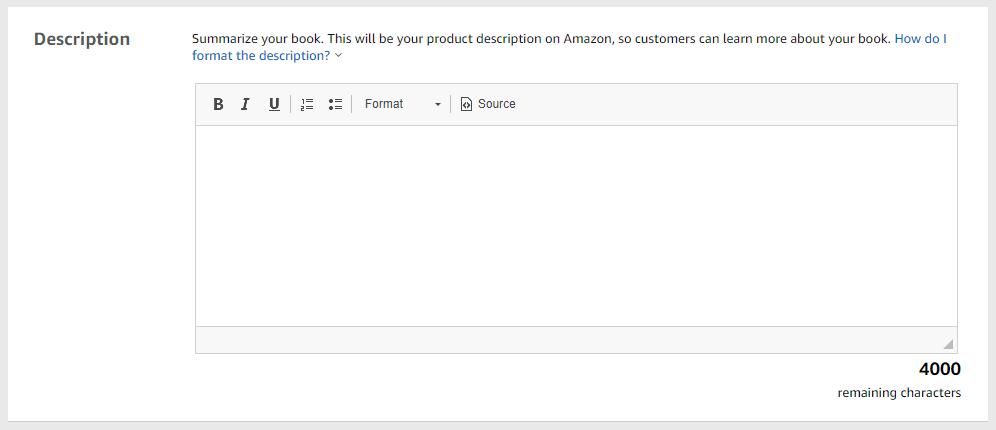
After title, subtitle, author name, you can write some information in the description box. Here you can put all the information to tell people what the book is about. They will get a clear idea of what they will get in the book through the description.

After submitting the description properly, you can provide up to 7 keywords. These keywords will help visitors find your book on the Amazon website. It would help if you optimized your book so that it’s reachable to a wide audience.


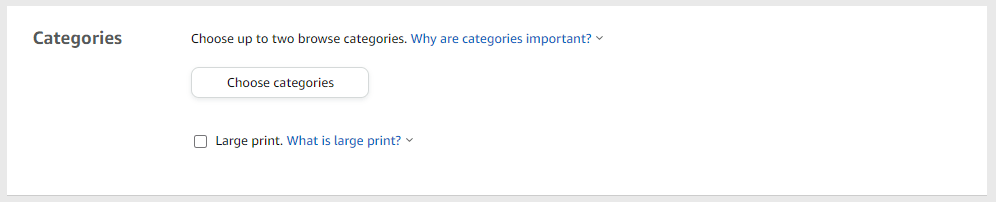
You can select up to two categories that will best suit your book.
Then you need to comply that all the designs you’ve used are your sole creation and no other people own this property.


After that, you also have to comply that your book doesn’t contain anything adult-related.

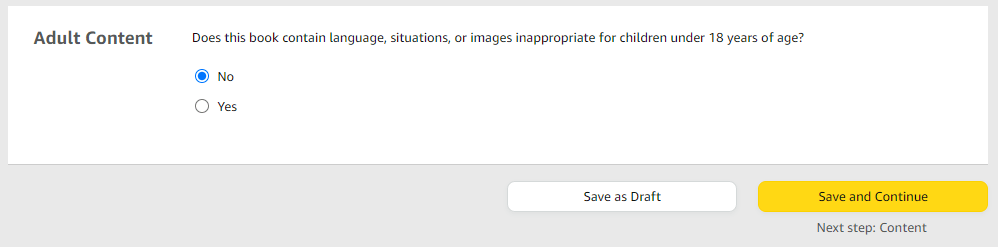
After you’ve done all these things, you can click on save and continue, and amazon will take you to the 2nd page, where you can upload all necessary documents.
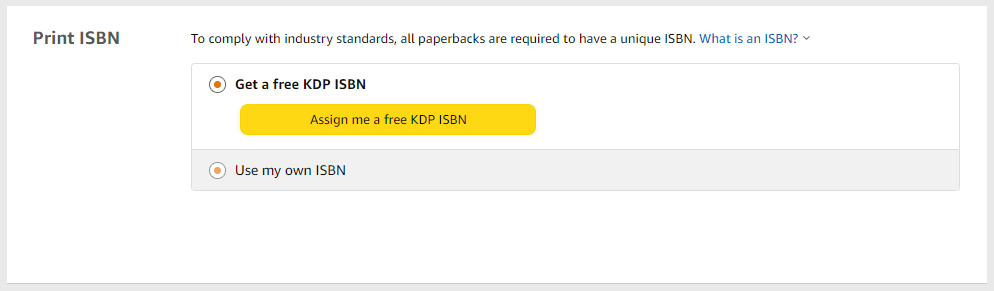
On the 2nd page, you’ll be asked to give an ISBN. ISBN stands for international standard book number. Of course, you can purchase your own ISBN. But if you don’t want to go into that hassle, you can simply create a free ISBN and assign that to that particular book.

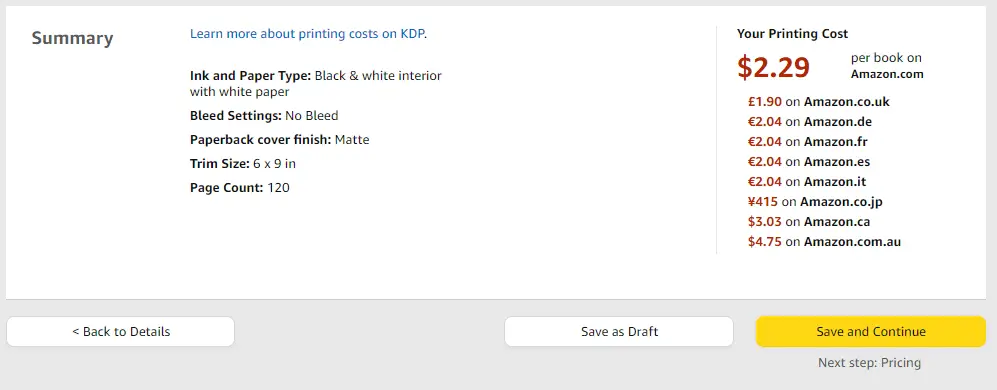
After the ISBN, you need to tell Amazon about some of your book properties. Like what is the book dimension.
A popular dimension for a notebook is 6″ x 9″. Also, many people use 8.5″ x 11″ as well.

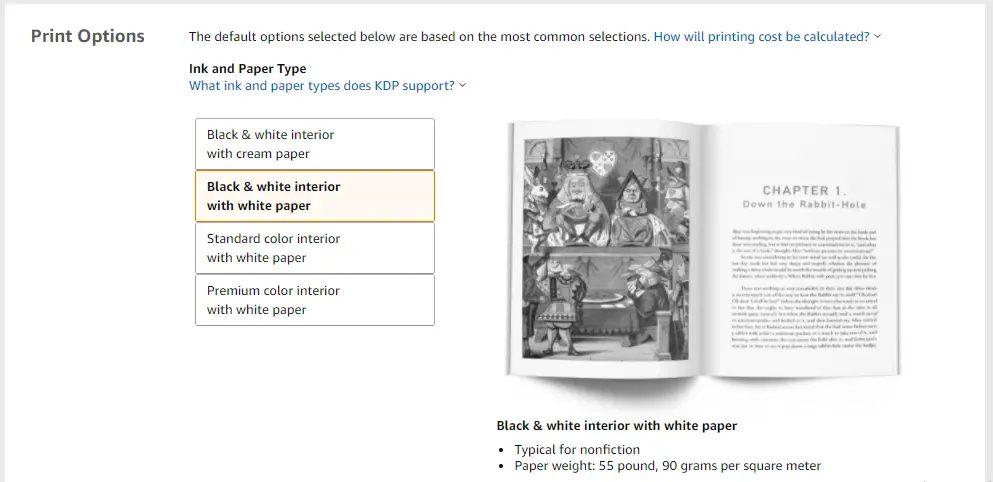

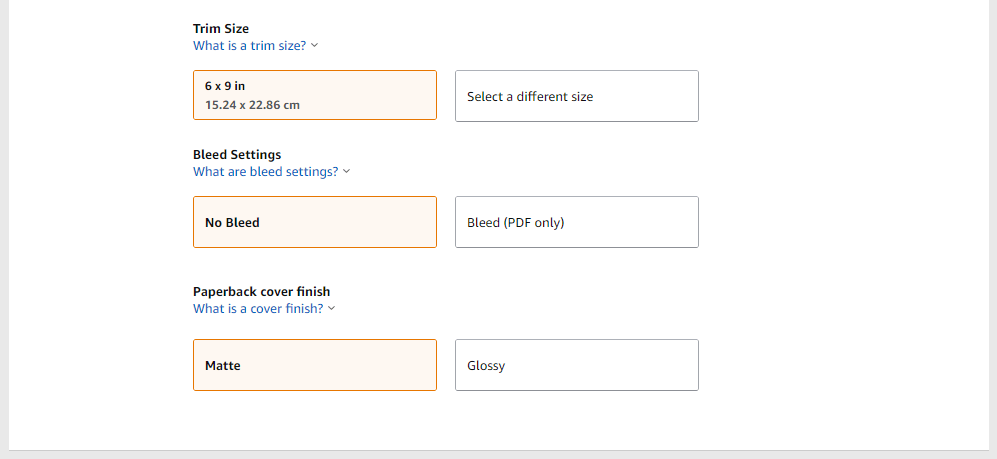
After that, you need to select whether the book will be colored or black and white. And last but not least, you have to tell whether you want the cover to be matte or glossy.
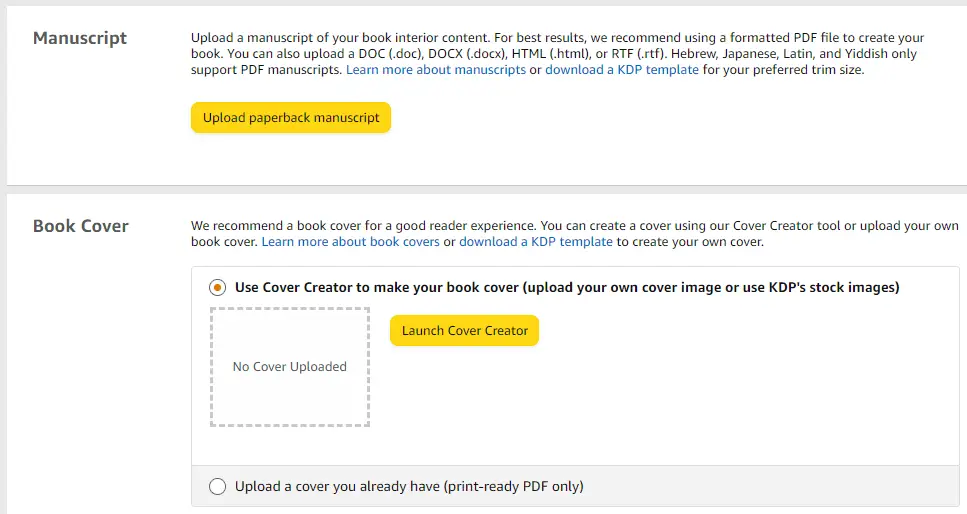
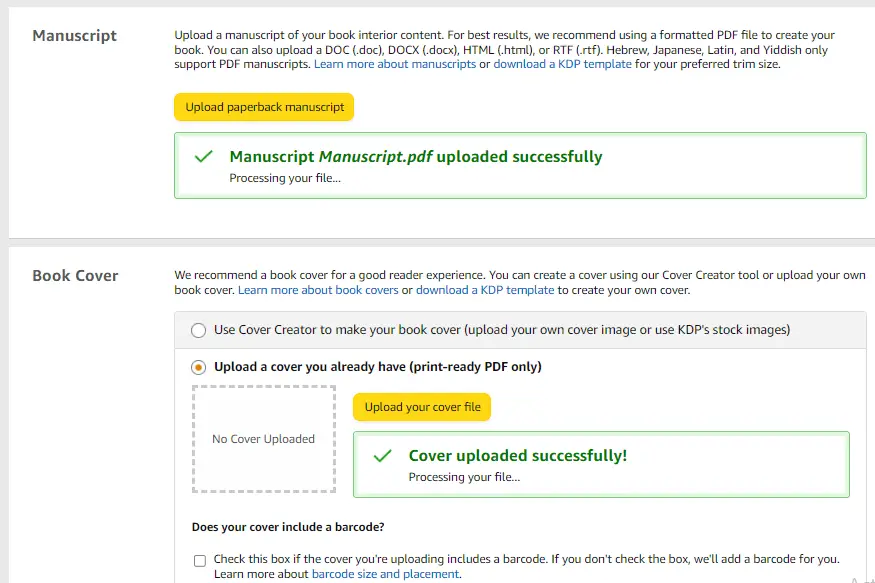
Once you’re done with those properties, you can upload the manuscript and book cover. Amazon will tell you that the uploads have been successful with some green text.


After you upload the manuscript and cover, amazon will ask you to check the book. You can click on preview and see the virtual version of your no / low content book.

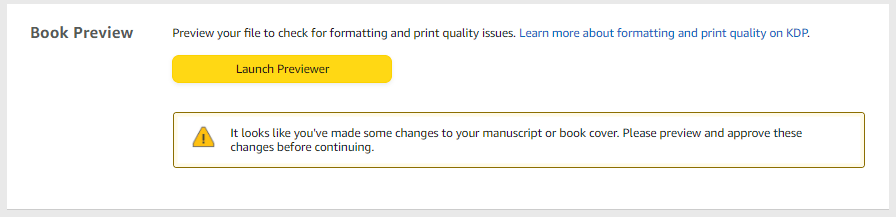
If there’s an error, amazon will let you know, and you won’t be able to approve the book.

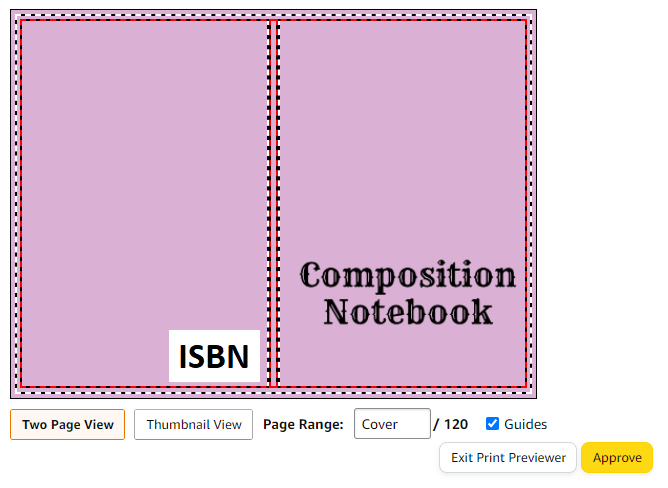
If there’s no error, you can approve the book. Once approved, you can proceed to the final page of the book creation, which is pricing.

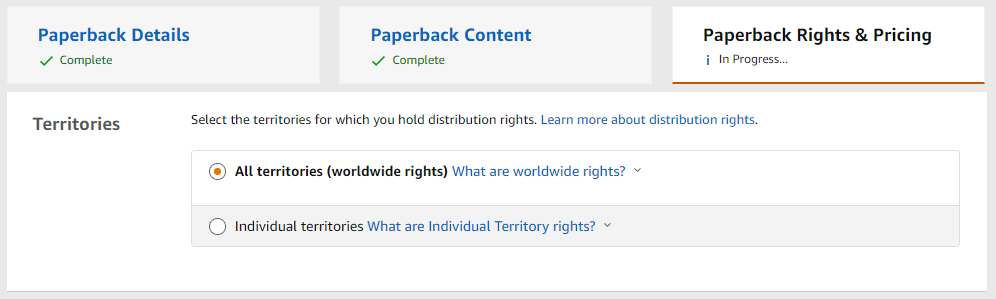
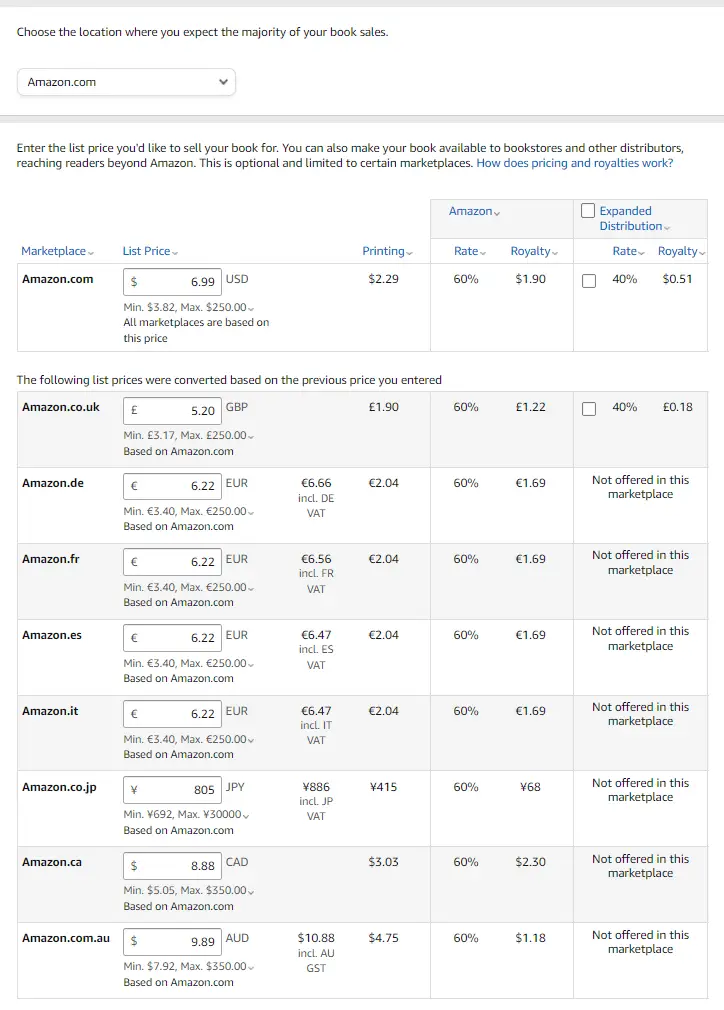
In the pricing tab, you will see several marketplaces to submit your no / low content book. Most people submit their books to all marketplaces. That way, you’re using all the leverage you have.

Then you have to submit pricing for each of the marketplaces. For example, notebooks and journals sell around $6.99 in the United States. And for every sale, you will get $1.90. So if you manage to sell 100 units, that means you’ll get $190.

After pricing the book, amazon will take some time to review the book you published.

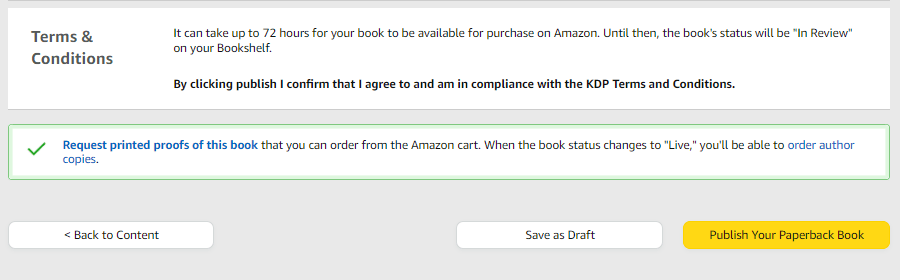
The review time will be anywhere between 24 hours to 72 hours. It may take more time also. The first notebook I published took 11 days to review. But then again, the time was before the Christmas season, and everyone was publishing books, so yeah.
After the review, Amazon will make the book live if there are no further issues with it. But if it has any problem, Amazon will mail you and state the problem. For example, suppose you didn’t write the exact title you’ve used on your cover, then Amazon will mail you and tell you to solve the problem.
Your book status will change from in review to draft. Once you solve the problem, you can re-submit the book again. Then if everything is ok, your book may go live.
So that’s everything you need to know about Amazon KDP low content books. Do let me know whether this guide helped you or not. If this guide helped you, then share it with your friends, who may also reap the benefit from it.
If you want to learn about Amazon affiliate marketing, you may see this post.
Till next time, take care.